Taking my first steps in Houdini was somewhat more difficult than i had originally anticipated, as finding learning resources and tutorials on the subject was either non-existant or well above my current skill level. After a while of searching I found that the best beginner tutorials available were locked behind a paywall, after some deliberating I decided to go with the offerings on pluralsight.com due to the sheer amount of material they had available on Houdini.
After discussing this issue with my tutor, I was told to consider making my own basic tutorials to fill this gap, once I had become comfortable with the software.
Aims:
- Learn the basics of the Houdini interface
- Transfer over my existing skills in polygonal modelling
- Get to grips with rigid body dynamics
- Render out a basic scene
I followed along with the ‘Introduction to Houdini 15’ course featured on pluralsight which is roughly 7 hours long, overall, the series of tutorials in this course were incredibly helpful in breaking down the interface and various tools available in Houdini, and covered a wide range of topics and concepts. The only flaw I could find was that the series was made during version 15, whereas I was using V16, this caused a few minor problems along the way, but were quickly solved by turning to help pages and forums, most of these problems concerned tools that had moved in the interface or combined with another.
After getting the hang of the interface, the series moved onto importing an existing model of a car, which needed to be resized. It was explained that scene scale within Houdini was very important, what this means is that the units of measurement used for the size of a piece of geometry will have a large effect on dynamics and the results they produce. For example, using the same dynamic simulation on objects of two different sizes will yield different results.
Larger objects will appear to fall more ‘slowly’.
Moving onto some polygonal modelling, I began tidying up the car model, as well as modelling the wheels. One useful tool I found whilst doing this was the ‘slide on surface’ feature within the move tool, which enabled me to move and clean up my topology, without risk of distorting the shape of the model, something which would have been useful throughout my work with maya.
After this, I moved onto modelling the tires for the vehicle, it was at this point where the procedural nature of Houdini became apparent to me, whereas in maya, operations such as subdividing or extruding were destructive, in Houdini these operations are carried out in the node view and placed in a sequential order, then can be changed at will, no matter how far up they are in the hierarchy without causing any errors in the model. This was also very useful in cases where something did go wrong with the model, as I could simply work my way through the nodes and spot where the error was made.
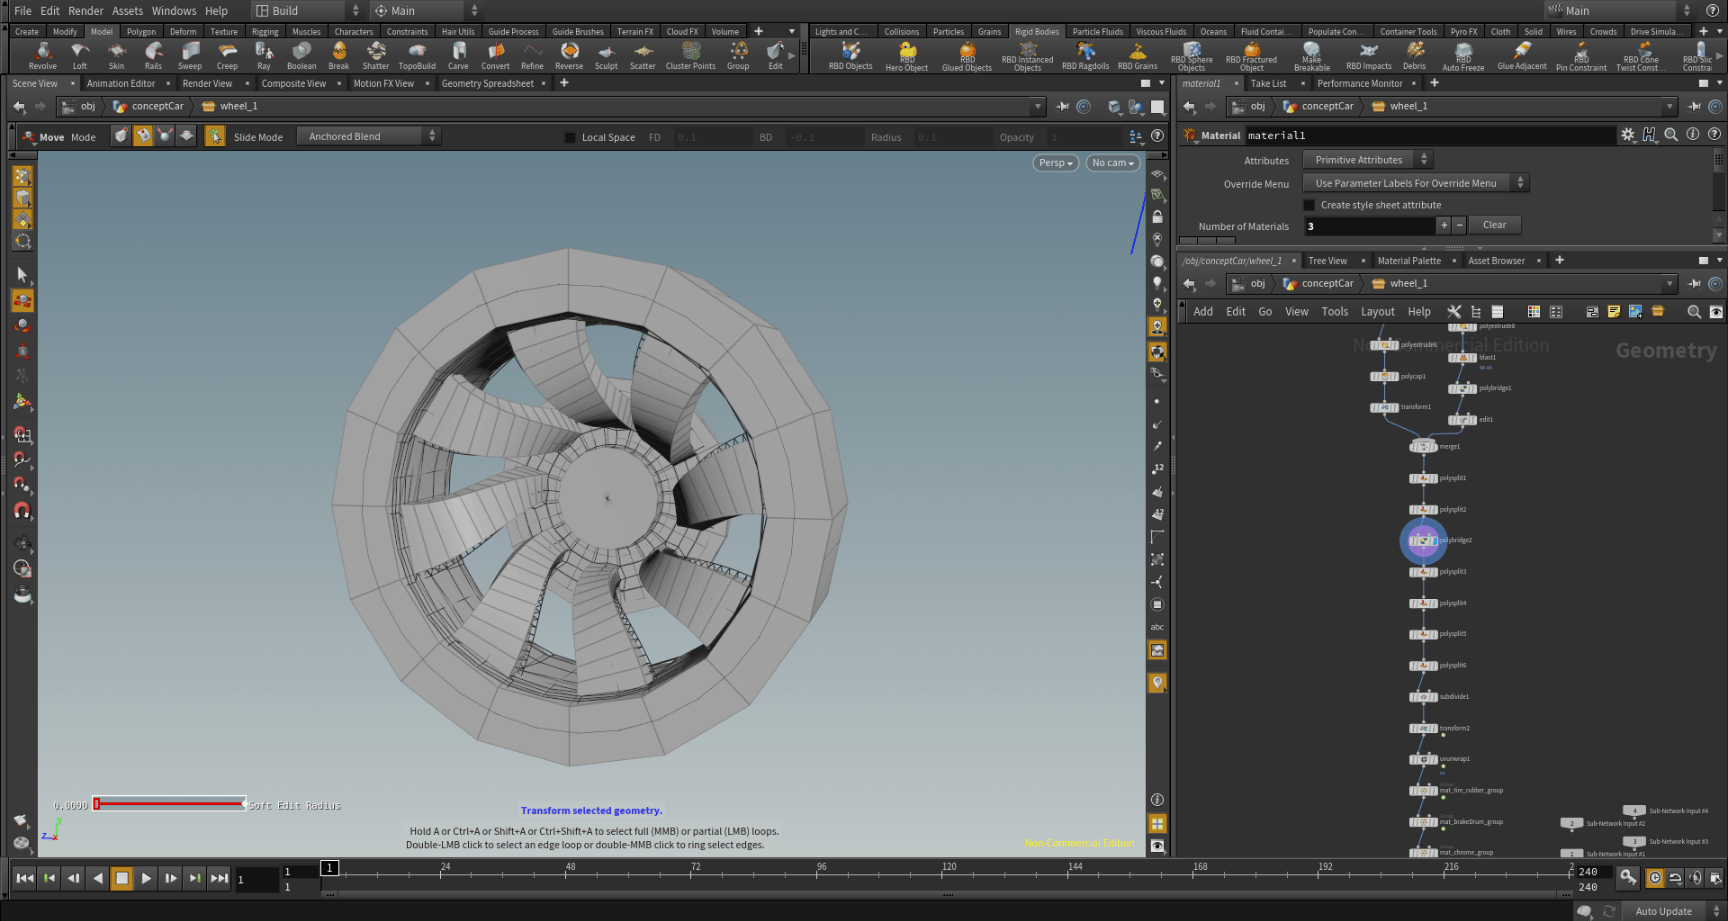
The wheel consisted of roughly 30 nodes.
After playing around with some of the shelf tools to make the wheel, it was time to UV unwrap, having a decent amount of experience in this area from my time in Maya, I was prepared for quite a tedious process, but to my surprise, the entire process was automated and produced good results. I intend to research into this in some more detail, as I’m quite curious how this works.

Unwrapped wheel
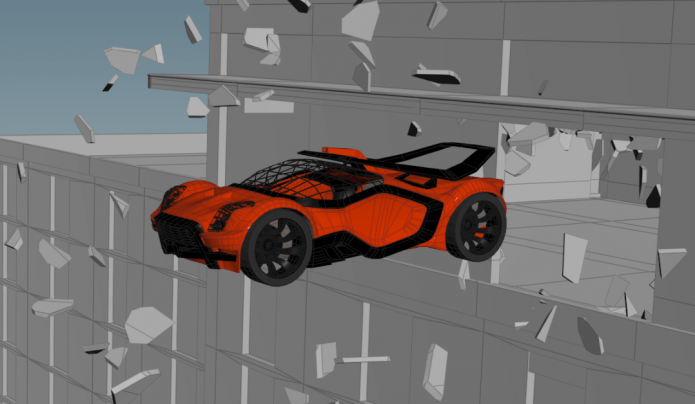
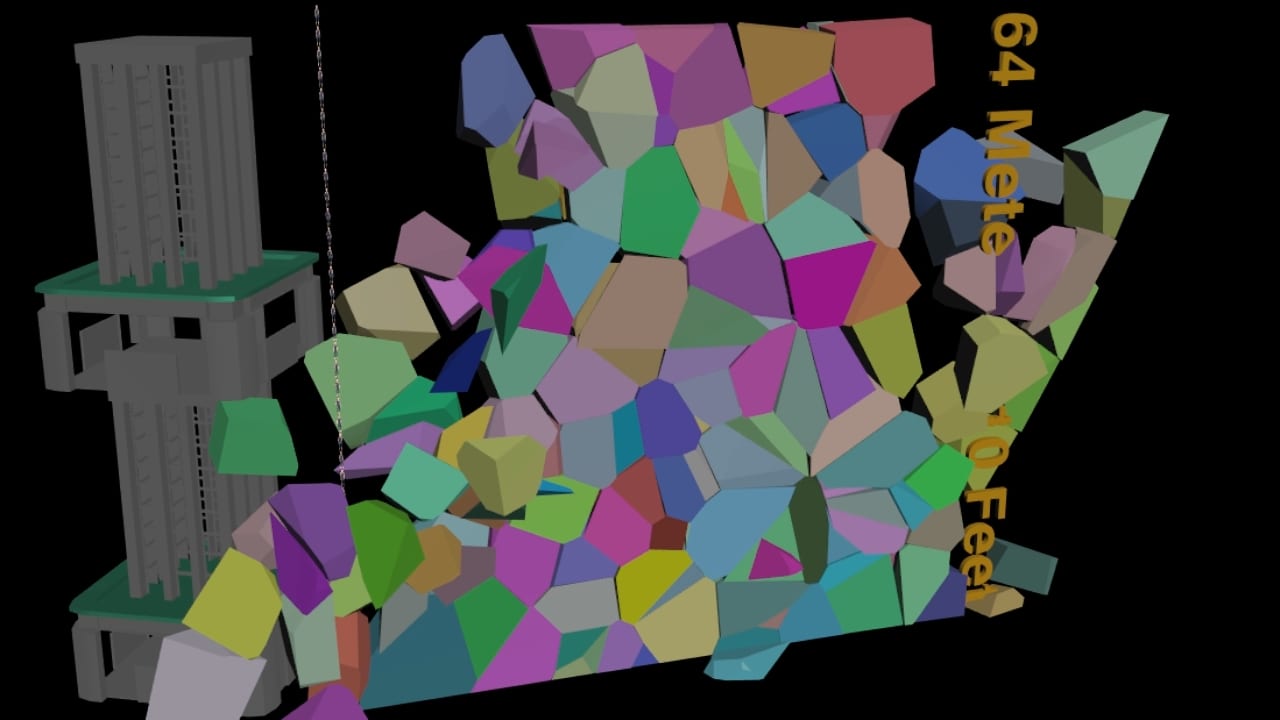
Last but not least was a quick dive into rigid body dynamics (RBDs) to create the final scene, overall , this was quite a basic attempt but turned out quite well. I took the existing building geometry and seperated a window pane by using the select primitive tool and then the RBD fractured object tool. Houdini does this by first converting the object to a volumetric fog, then selects random point as to where the object is to be fractured (The number of these points can be manually adjusted).
After this it was a simple process of adding a ground plane to act as a static object for the vehicle to land on, as well as the initial launching pad for the car. I then made the final car a RBD hero object, went into the DOP (Dynamic operators) network that these processes created, and added some velicity to the cars initial state so that it launched and broke the window with a good amount of force. I also altered the bounce and friction values of the car, as the first simulation resulted in the car giving off the impression that it was made of rubber. Gravity is automatically added when making RBD objects at its real world value of 9.8m/s down the Y axis.
I made a quick render of my final scene, which can be viewed below.
Next Steps
- Begin to learn particles in Houdini
- Learn how to best optimize my renders
- Research into work I intend to take inspiration from