Modelling Progress

For my first steps in learning Maya, I decided that I would use the ‘Maya 2018 Essential Training’ course featured on Lynda. I have used Lynda in the past for other pieces of software such as Photoshop and After Effects, and had quite  a positive learning experience.

Lynda is however, a premium paid service, but in my eyes it is something worth paying for when first getting to grips with a new skill. Since unlike YouTube tutorials, they tend to be updated alongside the software.

Aims

  • Learn the basic interface and shortcuts of Maya
  • Create a basic polygonal model within Maya
  • UV unwrap my model and create an export ready to be placed in Substance Painter
  • Bake my textures and apply a material to my model
  • Export my textured model to be displayed on sketchfab

Once I had gotten through the chapters covering the interface, basics of polygonal modelling and rendering, I decided that I would move onto to tutorials that focused on working alongside the videos, so that I had something to present and the end of my process.

After talking to my peers and utilising the Digibods Facebook page, I found a very useful tutorial that fit my basic workflow from Maya to Substance Painter.

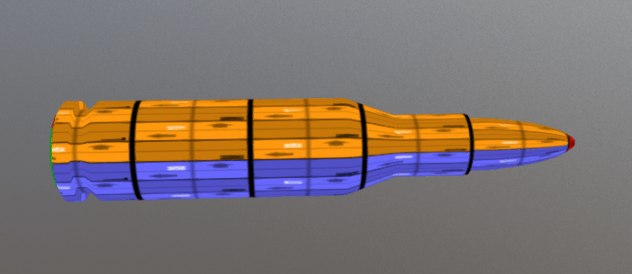
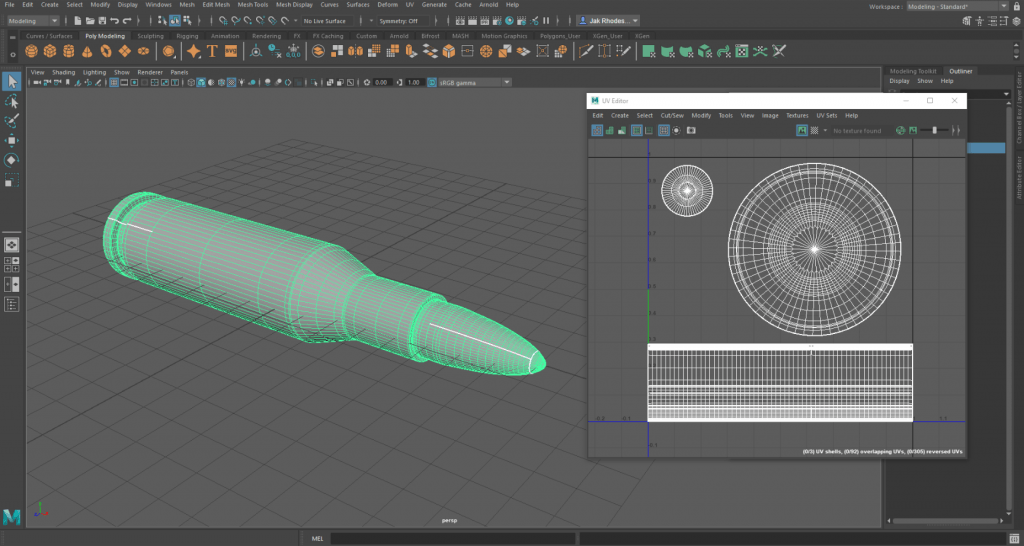
The tutorial followed the basic modelling principles I had already learned on Lynda, starting with a primitive, extruding, moving vertices and adding edge loops to add some detail to my model. This part was relatively simple as the previous tutorial series had greatly helped me with navigating through the tools with shortcuts. Once I was relatively happy with my model, I smoothed out my geometry and moved onto the next section.

WIP BULLET MAYA

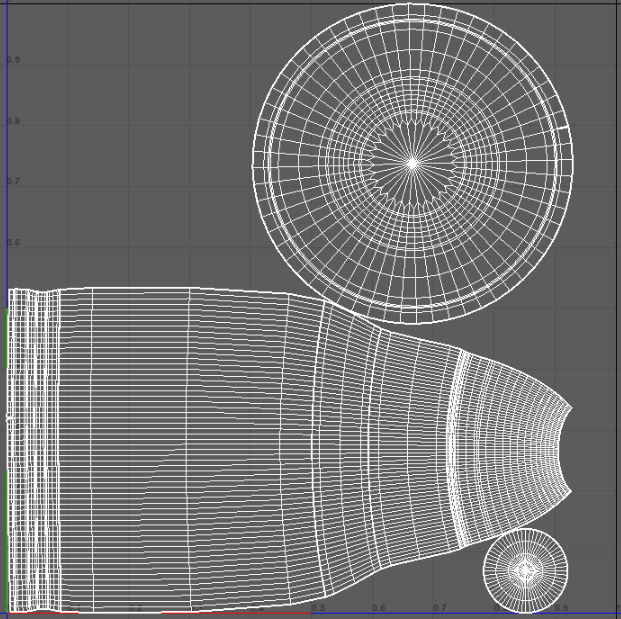
It then went on to describe and show how I would UV unwrap my model to get ready for texturing, however with some previous experience with UVs in Blender, I found that using the method shown in the tutorial resulted in some UV stretching.

stretched

After some tinkering with my UV, I found that the best way to get around the stretching was to take the largest shell of my UV, unfold it, then use the cut and sew tool to iron out any imperfections. Whilst it probably wasn’t the cleanest method I found that it resulted in a much cleaner UV with very little stretching, something that would not affect the quality of my textures.

UV Fix

After this I then exported my model as an OBJ file and imported my mesh into Substance Painter. For this section I only applied one layer of a copper material, texturing is a crucial part of my project but for the time being I want to focus on modelling and then progress onto a more indepth experiment with texturing. The UI and functions of Substance Painter are something I have worked with previously but I did find that my skills in the software were a little rusty and definitely could do with some brushing up. Once I was finished tweaking with my material, I then exported the textures using the built in ‘Export to Sketchfab’ feature, so that my model was ready to display.

The final model can be viewed on Sketchfab here.

What I learned

  • The basics of polygonal modelling within Maya
  • The basics of UV unwrapping within Maya
  • How to export my mesh from Maya into Substance Painter
  • How to troubleshoot my UV unwraps

 Further Steps

  • Improve my UV unwrapping within Maya
  • Improve my skills in Substance Painter
  • Learn how to create more complex models within Maya
  • Improve the quality of my edge work within Maya
The Software

For the first steps of my project, during the summer I had to make decisions on the skills I wanted to display and the software I was going to use to achieve these goals.

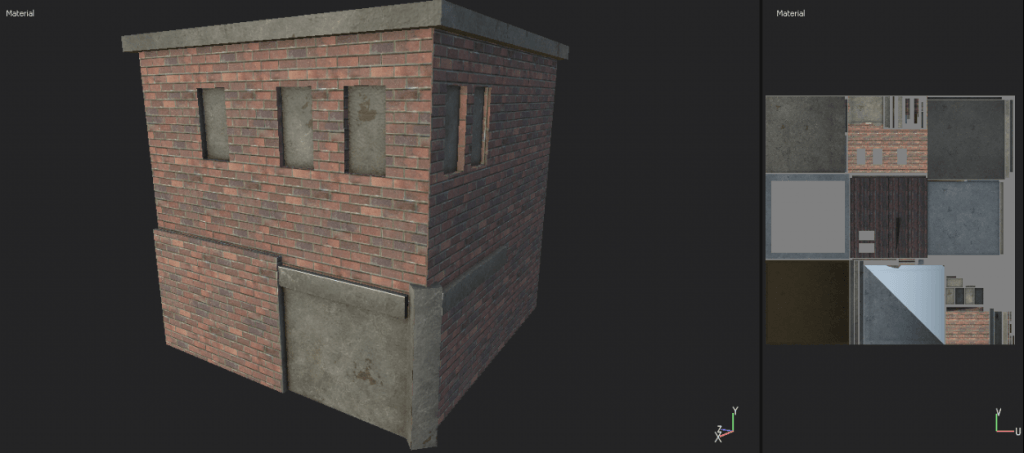
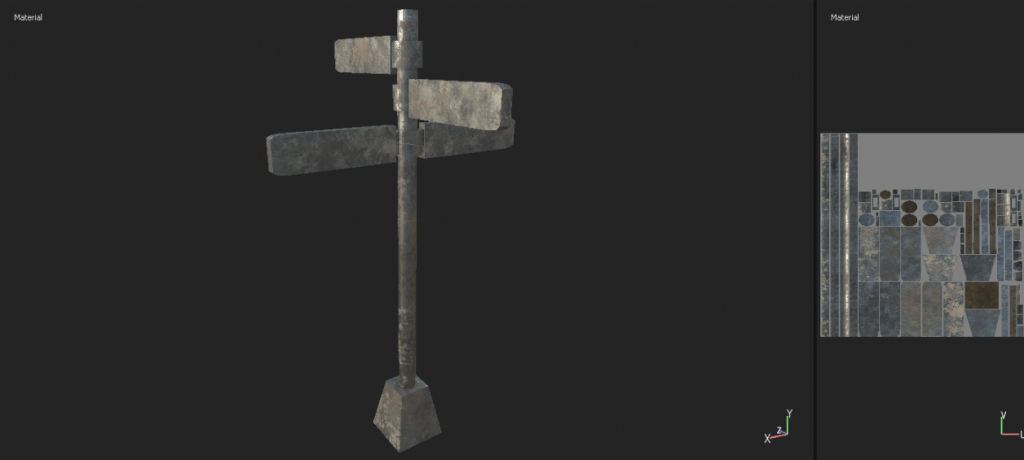
Towards the end of second year, I was lucky enough to be selected to take part in a Digital Media excursion to the Netherlands, with the goal of taking part in a small team to create a small 3D environment, which would then be placed in the Unreal game engine to introduce some interactivity to the scene.

buildingsign 

During this time I learned valuable skills in 3D modelling (Blender), Texture painting (Substance Painter and Photoshop) and also the Unreal game engine.

The experience definitely helped me form a basic idea for my final year projects, and after speaking to my tutors I had decided for the first semester I was going to build a 3D showreel.

In terms of research for this idea, I did some research into the job roles at some of the larger VFX companies. One such role was for Environment TD at Framestore, which included the following skills and responsibilities;

  • Strong knowledge of Photoshop, Nuke and Maya
  • Modelling, UV Layout and Texturing skills
  • Artistic skills in digital matte painting
  • Previous experience with 2.5D workflow
  • Assembling models, digital matte paintings, texturing, projections and lights into a CG scene for rendering

This led me to the decision that I was going to display the following skills in my showreel;

  • Camera Projection / Mapping
  • 3D Modelling
  • UV Layout and Texturing
  • 3D Matchmoving

Following this, my next decision was on the software I was going to use to achieve these goals.

For texturing, I was very set from the beginning that I would be using Substance Painter, this was due to my previous experience with the software was very positive due to its ease of use when it came to came to creating detailed textures focused on photorealism.

For matchmoving, my options came down to Blender and Autodesk Matchmover. After a short experiment with Blender, I attempted the same process with Matchmover, only to find that the software was incompatible with my my PC. After some troubleshooting and advice seeking, I came to the decision that due to this incompatibility I would use Blender for my matchmoving.

The last software decision I would have to make for this project would be which program I would use for my modelling. To aid with this decision, I drew up a short list of pros and cons for both Blender and Maya.

Blender 

 blender logo

Pros

  • I have had previous experience with this software, and have a good base knowledge to build from
  • Free and open source
  • Regular updates
  • Coherent user interface and shortcuts, very easy to learn and use
  • All in one package, features include a game engine, physics simulation and a built in matchmover

Cons

  • Rarely used by the industry due to constant updates
  • Not as powerful as other modelling packages
  • Built in renderer lacks depth compared to other softwares


Maya

 maya logo

Pros

  • Currently the industry standard in the film industry when it comes to modelling and animation
  • Very customisable, external plugins and user interface tweaks are numerous
  • Skills gained in Maya are easily applicable to other software packages
  • Interoperability between plenty of different software
  • Arnold renderer built in
  • Compatible on Windows, MAC and Linux
  • Free 3 year license for students

Cons

  • Confusing interface, menu organisation hides a lot of useful functions
  • Steep learning curve
  • Doesn’t include a built in matchmover, Autodesk Matchmover is very complex to operate and hasn’t been updated in over 3 years
  • Very expensive licensing

Overall, the deciding factor in this would definitely be the fact that Maya is currently the industry standard when it comes to modelling. Therefore, in terms of the next steps for this project, I plan on transferring my modelling skills from Blender into Maya.